Crawl Space Vapor Barrier Guide: Thickness, Cost, and What Actually Works
Walk into most crawl spaces and the first thing you notice is the smell: damp earth, a little musty. That smell is moisture rising out of the soil, and over time it can lead to wood rot, mold, pests, and higher energy bills upstairs. A crawl space vapor barrier is the first line of defense. This guide explains what it is, how thick it should be, what it typically costs, and how to tell the difference between a quick fix and a lasting one.
What a crawl space vapor barrier is and why it matters
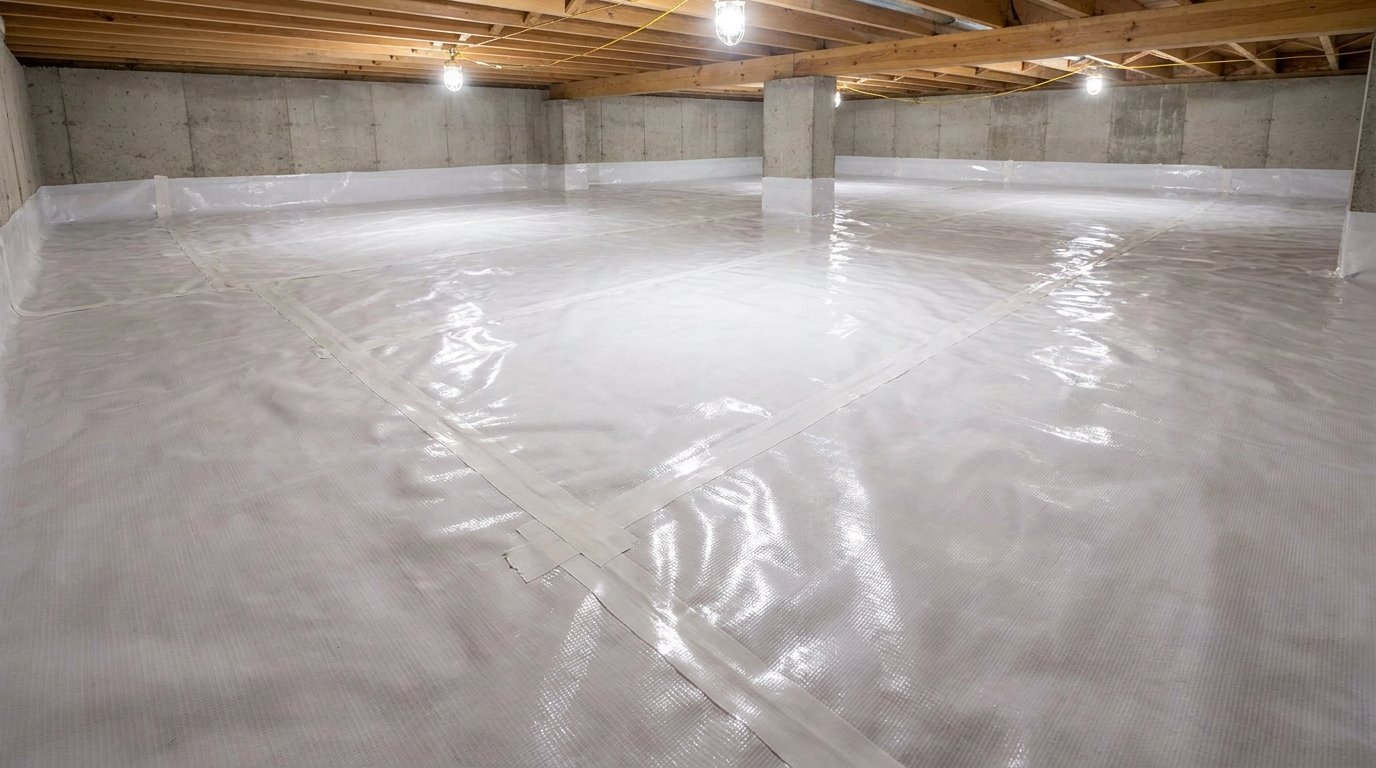
A vapor barrier is a sheet of polyethylene plastic laid across the exposed soil of a crawl space, and often run up the foundation walls, to block moisture from the ground from rising into the space as water vapor. Bare dirt is constantly giving off moisture. Without a barrier, that humidity collects on floor joists, subfloor, insulation, and ductwork.
Why it matters comes down to a few connected problems. High humidity under your home feeds mold and wood-destroying fungus, which can weaken the structure. It attracts termites and other pests that are drawn to damp wood. It can cause musty odors and allergens to drift up into living space, since a large share of the air you breathe indoors starts in the crawl space. And damp air is harder and more expensive to heat and cool. A vapor barrier addresses the root cause by cutting moisture off at the source.
Common signs that a crawl space is giving off too much moisture include a persistent musty smell in the rooms above, cupping or buckling hardwood floors, condensation or rust on ductwork and metal, sagging insulation that has fallen away from the subfloor, and visible mold or white efflorescence on the foundation walls. If you notice any of these, the crawl space is usually the place to look first, and a vapor barrier is typically part of the solution.
Mil thickness explained: 6 vs 12 vs 20 mil
A "mil" is one one-thousandth of an inch. It measures the thickness of the plastic, and thickness is the single biggest factor in how long a barrier lasts and how much abuse it can take. Here is how the common options compare.
| Thickness | What it is good for | Durability |
|---|---|---|
| 6 mil | Minimum code-level moisture cover; budget jobs | Thin and easy to tear, especially where you crawl or store items |
| 10 to 12 mil | Most residential vapor barriers; a solid middle ground | Resists punctures reasonably well; good value for the money |
| 20 mil | Full encapsulation and high-traffic crawl spaces | Heavy, puncture-resistant, reinforced; longest service life |
A 6 mil liner meets the bare minimum in many areas and will reduce moisture, but it tears easily and rarely holds up if anyone crawls over it to access plumbing or wiring. For most homes, 10 to 12 mil is the practical sweet spot: durable enough to last, affordable enough to be realistic. A 20 mil reinforced liner is what professional encapsulation crews use because it stands up to foot traffic and decades of service. Thicker also tends to mean better seams and a cleaner, brighter finished look.
Cost of materials and professional installation
Costs vary widely with crawl space size, how much prep and cleanup is needed, the thickness you choose, and your region. The figures below are typical U.S. estimates for general planning only, not quotes.
- Materials, DIY: a roll of 6 mil plastic is inexpensive, while 12 to 20 mil reinforced liner runs meaningfully more per square foot. Add seam tape, fasteners, and any butyl or caulk for a few dollars more per unit.
- Basic liner, professionally installed: roughly $0.50 to $1.50 per square foot, so a 1,000 square foot crawl space might land in the low four figures.
- Full encapsulation, professionally installed: roughly $3 to $7 per square foot, and often higher once a dehumidifier, drainage, or sealing of vents is added.
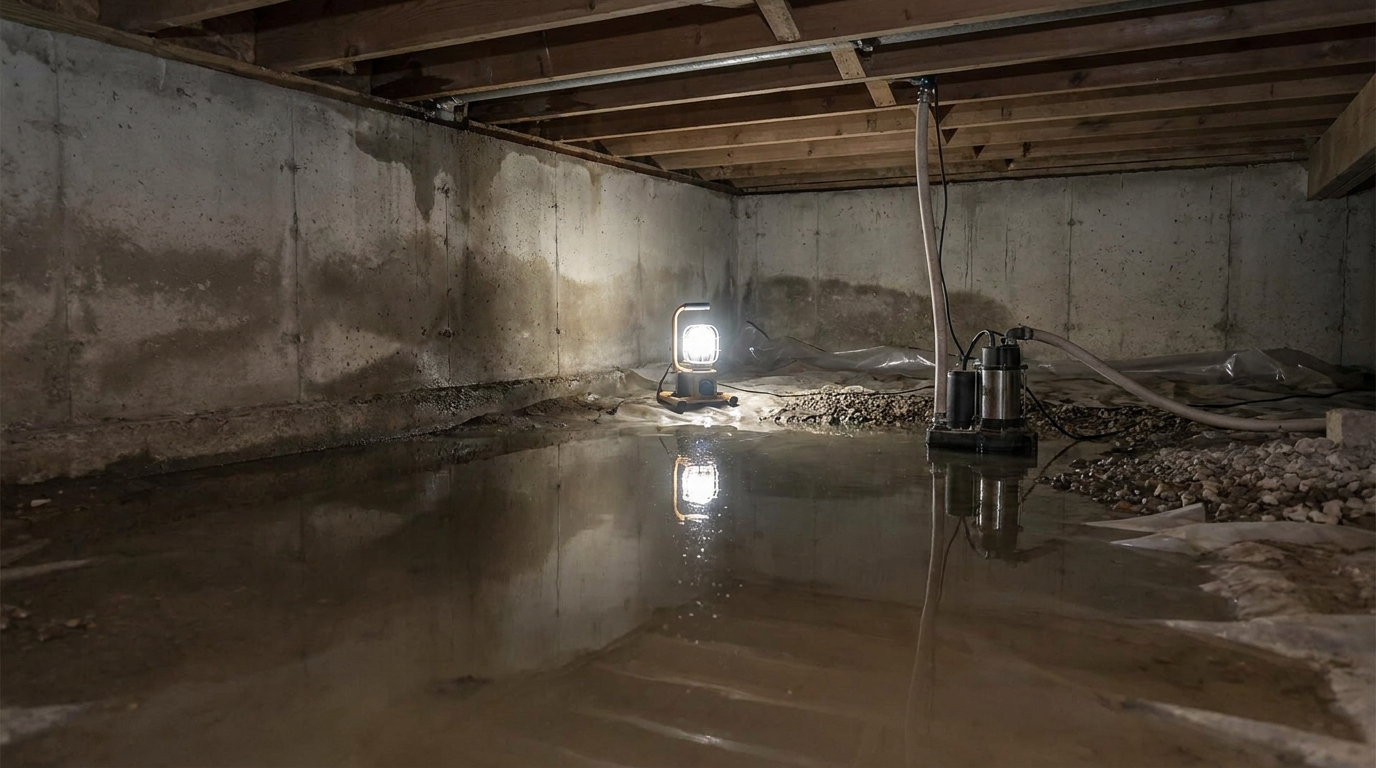
Jobs that require removing old debris, grading the floor, treating existing mold, or adding a sump pump will sit at the upper end or beyond. The quality of the liner matters here too: paying a little more for a thicker, reinforced product usually costs less over the life of the home than replacing a torn 6 mil sheet in a few years. Always get a written on-site assessment before committing, and be cautious of any quote given without someone actually going under the house.
Vapor barrier vs full encapsulation
These terms get used interchangeably, but they are not the same thing. A vapor barrier typically refers to the ground cover itself, sometimes just laid loose or lightly attached, to slow moisture coming up from the soil. It is the lower-cost, partial approach.
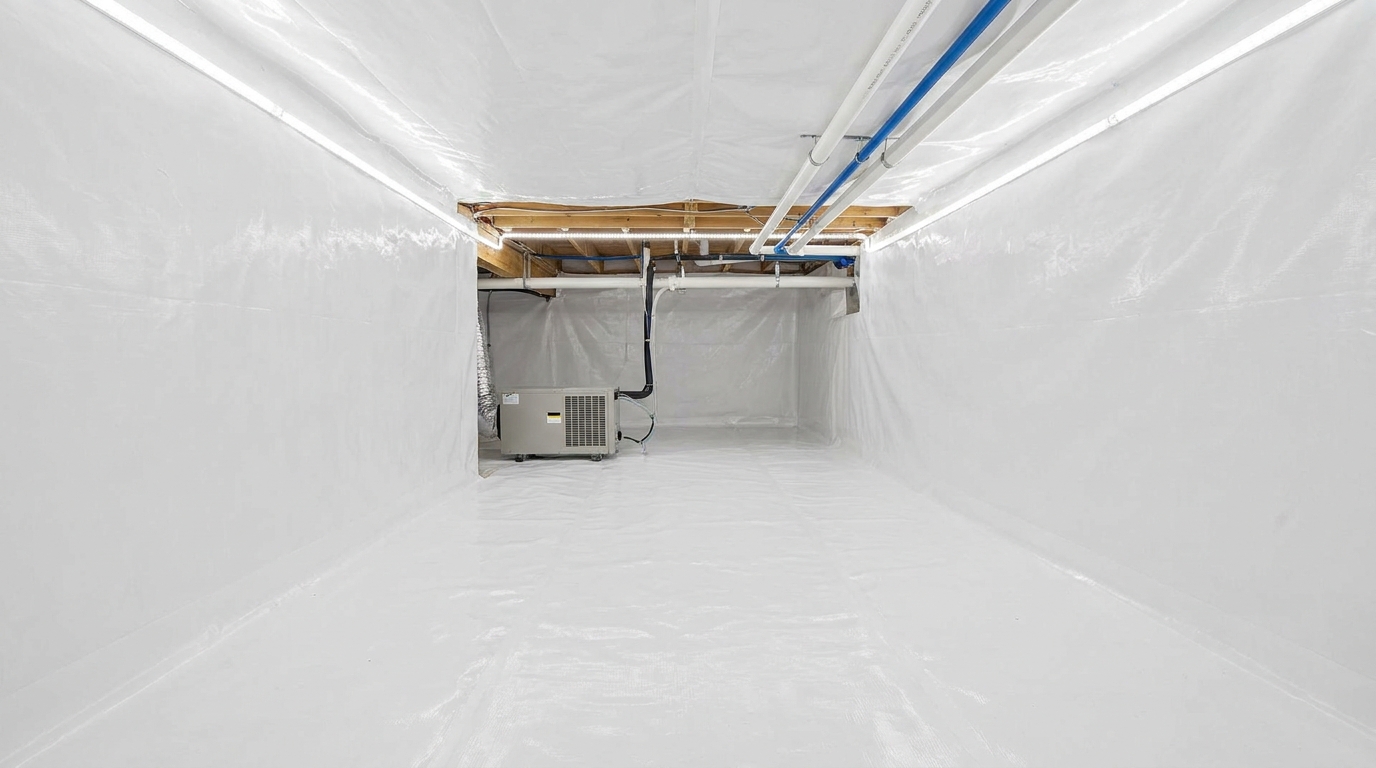
Full encapsulation is a complete, sealed system. A heavy liner covers the floor and is run up and mechanically sealed to the foundation walls, seams are taped, penetrations are sealed, vents are usually closed off, and a dehumidifier or conditioned air keeps the space dry year round. Encapsulation turns the crawl space into a clean, dry, semi-conditioned zone rather than just slowing evaporation.
Which one you need depends on your situation. If your crawl space is mostly dry with occasional humidity, a quality vapor barrier may be enough. If you have standing water, chronic high humidity, existing mold, or you want the energy and air-quality benefits, encapsulation is the more complete fix and the reason for the higher cost. A good contractor should diagnose the moisture source first and recommend the lightest solution that actually solves it.
DIY considerations
Laying a vapor barrier is one of the more approachable crawl space projects, and many homeowners tackle a basic liner themselves. A few things to weigh before you decide.
- Access and comfort. Tight, low crawl spaces are miserable to work in. Honestly assess whether you can move and work in yours for hours.
- Safety first. Check for standing water, exposed wiring, pest activity, and poor air quality before going under. If you suspect mold or asbestos, stop and call a pro.
- Prep matters more than the plastic. Clear debris, remove sharp rocks, and address any active water intrusion first. A barrier laid over a wet, uneven floor will not perform.
- Overlap and seal seams. Overlap sheets generously and tape the seams so moisture cannot sneak through the gaps.
- Know your limits. Full encapsulation, drainage, and dehumidification are best left to professionals who can warranty the work.
Common mistakes to avoid
- Going too thin. A 6 mil sheet in a space anyone ever enters will tear and leave gaps. Choose thickness based on traffic and how long you want it to last.
- Leaving seams open. Unsealed overlaps and untaped edges let moisture rise right through. Seams and penetrations need attention.
- Not covering the walls. A floor-only liner ignores moisture and air moving through the foundation walls. For a true system, the liner should run up the walls.
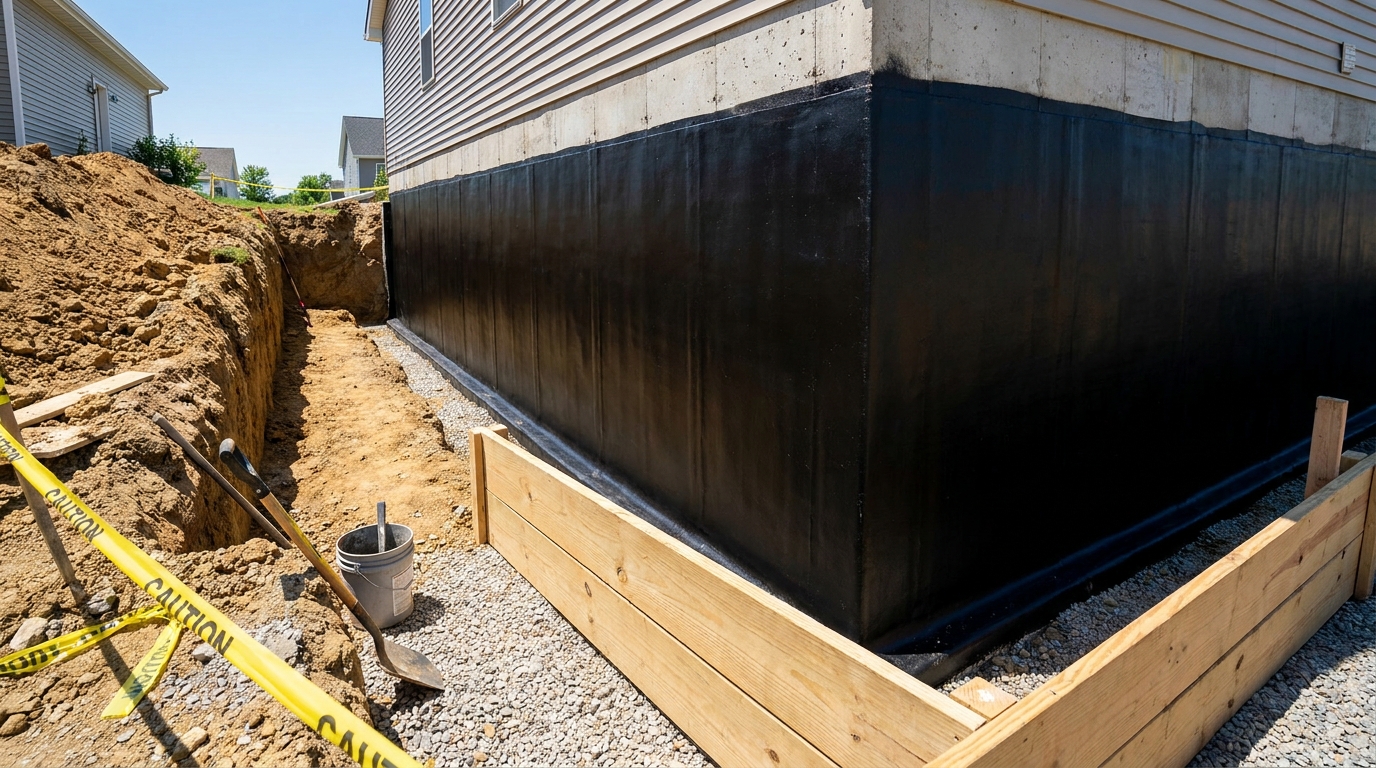
- Ignoring the water source. Plastic over a floor that floods only hides the problem. Fix drainage, grading, and gutters first.
- Skipping humidity control. In many climates a barrier alone will not get humidity low enough; a sealed system usually needs a dehumidifier to finish the job.
- Assuming all plastic is equal. Reinforced, antimicrobial liners are built for this use; cheap sheeting from a hardware aisle is not the same product.
A crawl space vapor barrier is one of the highest-value moisture fixes a homeowner can make, but only when it matches the actual problem and is installed well. Get the moisture source diagnosed, choose a thickness you will not regret, and decide honestly whether a basic liner or full encapsulation is the right call for your home.
Frequently asked questions
What thickness vapor barrier do I need for a crawl space?
For most homes a 10 to 12 mil liner is the practical choice, durable enough to last without overspending. Use 20 mil reinforced liner for full encapsulation or high-traffic crawl spaces, and treat 6 mil as a bare minimum that tears easily.
How much does a crawl space vapor barrier cost?
As a typical U.S. estimate, a basic liner installed runs about $0.50 to $1.50 per square foot, while full encapsulation runs roughly $3 to $7 per square foot installed and can go higher with drainage or a dehumidifier. Size, condition and region all affect the final price.
What is the difference between a vapor barrier and encapsulation?
A vapor barrier is the ground cover that slows moisture from the soil, often a partial measure. Encapsulation is a complete sealed system where a heavy liner covers the floor and walls, seams and vents are sealed, and a dehumidifier keeps the space dry year round.
Can I install a crawl space vapor barrier myself?
Many homeowners install a basic liner themselves if the space is accessible and safe. Clear debris, fix any active water first, and overlap and tape the seams. Full encapsulation, drainage and humidity control are best left to a professional who can warranty the work.
Does a vapor barrier stop crawl space humidity completely?
Not always on its own. A good barrier greatly reduces moisture rising from the soil, but in humid climates you often still need sealed walls and a dehumidifier to bring humidity down to a safe level and keep it there.
Wondering if a liner or full encapsulation is right for you?
Match with a vetted local crawl space pro and get an honest moisture assessment and quote, free.
Get a free quoteCost ranges are typical U.S. estimates compiled by SealedCrawl for general guidance and vary by crawl space size, thickness, condition and contractor. Always get a written on-site assessment.